Mfr Part # 3333
CIRCUIT PLAYGROUND EXPRESS
Adafruit Industries LLC
Now that you’re finally ready to move forward with your project, it’s time to really begin the creative process. Spend time drafting your electrical and mechanical designs, selecting components, and laying out technical specifications. Layout your PCB and initial BOM and finalize your platform. Expect to spend a little bit of money here—evaluation kits and prototype components aren’t free!
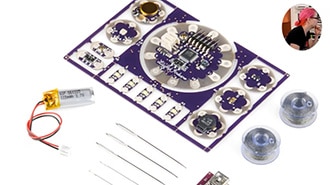
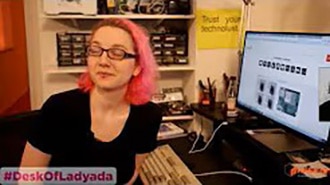
In this video, Ladyada will: take the existing set of eval boards – Flora, sensors, Neopixels and ‘breadboard components’ from the last video – then ‘cut & paste’ all of the sensors and components and wrap them up into a single PCB. We do the routing and come up with the layout and placement for all the parts. We wanted resistive touch but there’s no 20M ohm resistor packs, though this could maybe something for a future design.
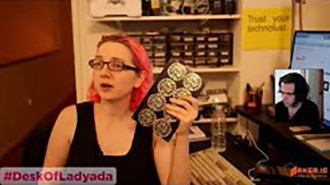
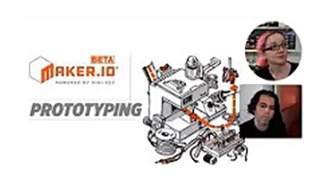
Prototype PCBs are then sent off for fabrication – we’ll use OSH Park and show how to generate the Gerber files, preview them, and fabricate!